Decision tables builder
Decision tables are one of the types of assets that are available in ProcessMIX. A tool designed to work with complex logic and handle a large number of rules in a tabular format.
To access them, you need to go to the Explorer panel in the Assets section. It contains a tree of all Assets in the project and existing Scorecards if they already exist.
The Assets tree in the Project Explorer panel may include the following:
- Dictionary
- Scorecard
- Decision table
- PMML.
Double-clicking on any Decision table opens a tab with the Decision table builder.
How to create the first Decision table?
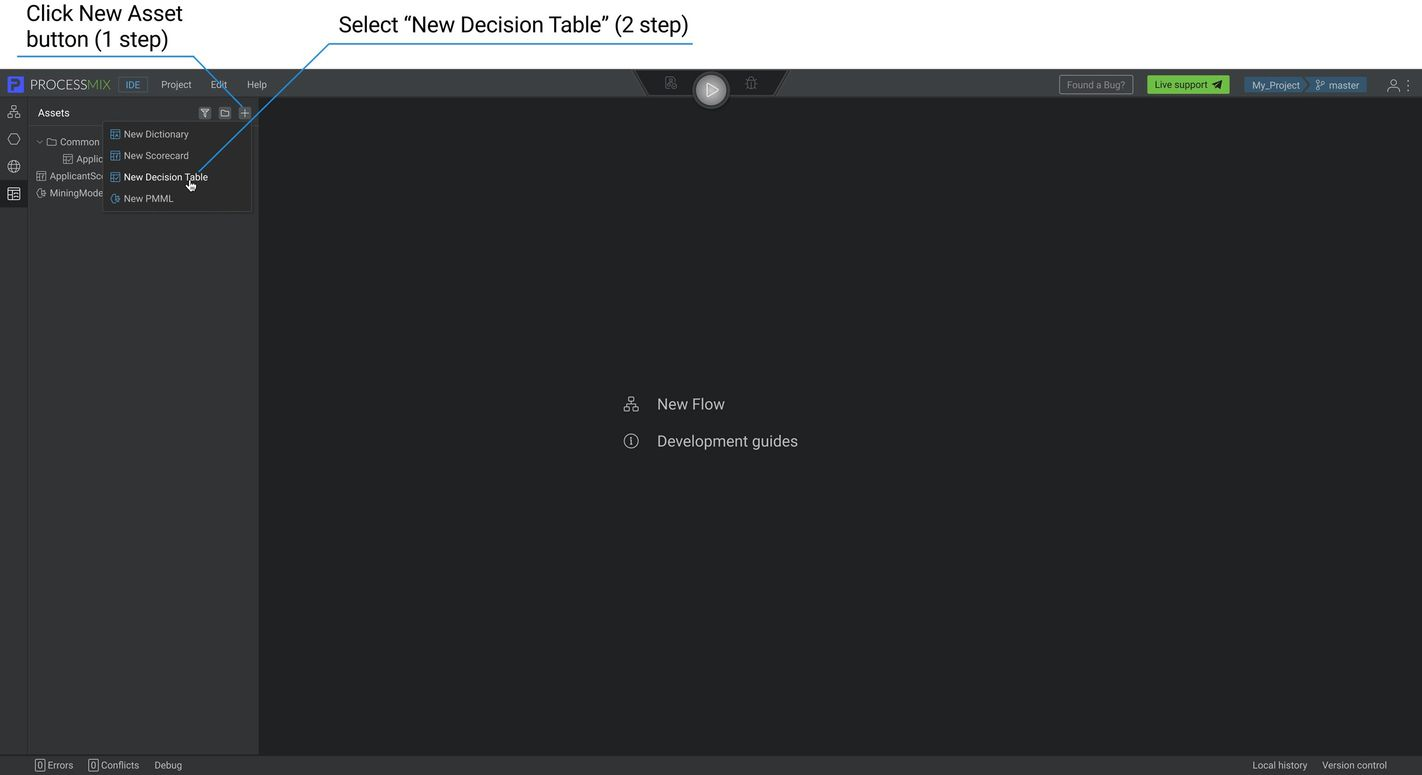
To create a new Decision table, select the Assets icon on the Project Explorer panel — left end panel. Now, create a Decision table by clicking on the icon on the Explorer panel and select New Decision table.
To create an asset in the folder, you need to select the desired folder and, after that, click on the icon. In the pop-up window, enter the Decision table name and click the CREATE button.

The Decision table’s name should be longer than 1 character and shorter than 100. It can contain the letters (Latin a-z A-Z), numbers 0-9, $, and an underscore. Beginning from a letter or underscore character. The name of the Decision table must be unique within the level where it is created (folders or tree root).
After the creation of the Decision Table, the corresponding structures for the Request and Response will be automatically generated, which can be found in the Structures section of the Explorer panel. The structure will change depending on the structure of the Conditions and Results in the Decision Table. The user can reassign another structure to work with the Decision Table.
How to set up a Decision table?
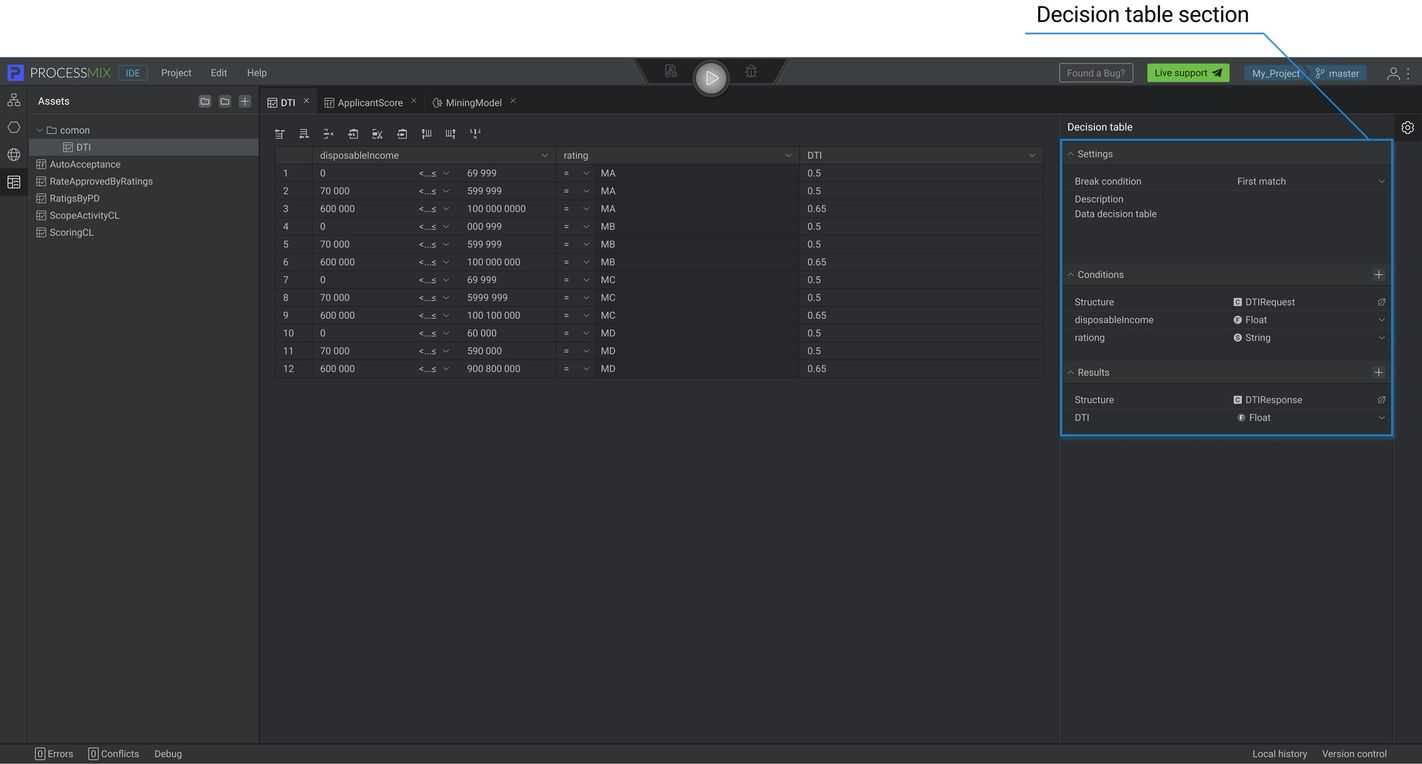
In the platform, there are 2 types of execution brake condition available:
- First match — Validates data until the first match. If a match is found, further checking stops.
- No break — Checks all data and looks for all matches.
To continue working with a specific type of break condition, select the type in the Decision table section. By default, it is the First match.
To add a Description to the Decision table, click on the description section and enter the value.
Preservation occurs when starting/switching work with another entity or closing a tab.
Decision table’s data model
After the break condition was set up, you can add conditions and results and change the type of parameters.
To add a new Condition. Click on the icon then click on the data type and select the necessary data type. Click on the name of the condition and change the name of the condition (optional).
To add a new Result. Click on the icon then click on the data type and select the necessary data type. Click on the name of the result and change the name of the result (optional).
The Property’s name should be longer than 1 character and shorter than 255. It can contain letters (Latin a-z A-Z), numbers 0-9, $, and an underscore. Beginning from a letter or underscore character.
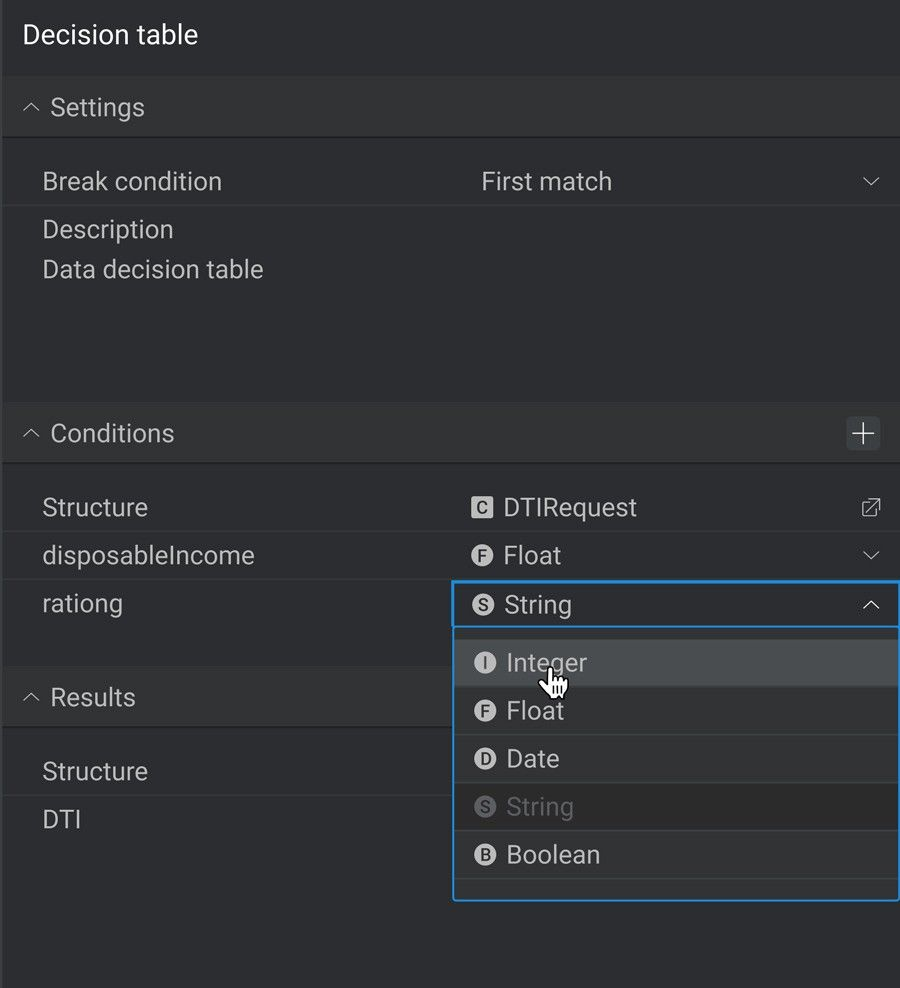
Supported data types for condition and result:
- Boolean — value “true” or “false”
- String — text, for example, “Peter Peterson”
- Integer — number, for example, “22”
- Float — floating-point or decimal number, for example, “0.1234”
- Date — specify the date value in the format yyyy-mm-dd, for example, ‘’1993-05-31’’.
After changing the composition of the parameters or changing their type, the same changes are applied to the auto-generated structure.
It is possible to change the use of an auto-generated structure in the decision table to another one in the Structure drop-down list at the top of the Parameters section in the decision table builder.
After cloning a decision table, it will refer to the same structure as the main decision table. You can change the structure used if necessary.
How to work with Decision table data?
In the central part of the Decision table builder, you can enter the necessary data into the table according to the types of parameters.
- To add an additional row above, click on the Add Row Above
icon in the panel above the table.
- To add an additional row below, click on the Add Row Below
icon in the panel above the table.
- To Remove a row, select a row and click on the Remove Row
icon in the panel above the table.
- To Cut a row, select a row and click on the Cut Row icon
icon in the panel above the table.
- To Paste a row, select a row and click on the Paste Row
icon in the panel above the table. Is not available unless you have previously used the Cut options.
- To Add a column before, select the column and click on the Add column before
icon in the panel above the table. Then create a new parameter and select its type.
- To Add a column after, select the column and click on the Add column after
icon in the panel above the table. Then create a new parameter and select its type.
- To Remove a column, select the column and click on the Remove Column
icon in the panel above the table.
How to set up cell format conditions?
You can add any operator to the data in the cell corresponding to the cell structure.
Possible formats depending on data types:
- Integer
Format : =, !=, >,<,<=,>=,< <,< <=,<= <,<= <=, n/a - Float
Format : =, !=, >,<,<=,>=,< <,< <=,<= <,<= <=, n/a - Date
Format : =, !=, >,<,<=,>=,< <,< <=,<= <,<= <=, n/a - String
Format : =, !=, Contains, StartWith, EndWith, Regexp, n/a - Boolean
Format : =, !=, n/a
n/a means that the value is not available and the condition will be ignored during processing, if the value is n/a, then such a condition will always work as True.
By default, the value of conditions and results in the decision table is null. Operators available for null are =, !=. For example, the user has indicated that the condition is != null, and the result is null. After that, in the Decision table node, specify the value of the condition. After deploying the project, the user can see the execution result as null because the condition worked as true.
Additional operations with conditions and results
Select the condition or result in the Decision table section. By clicking the right mouse button, a context menu opens through which a number of operations are available.
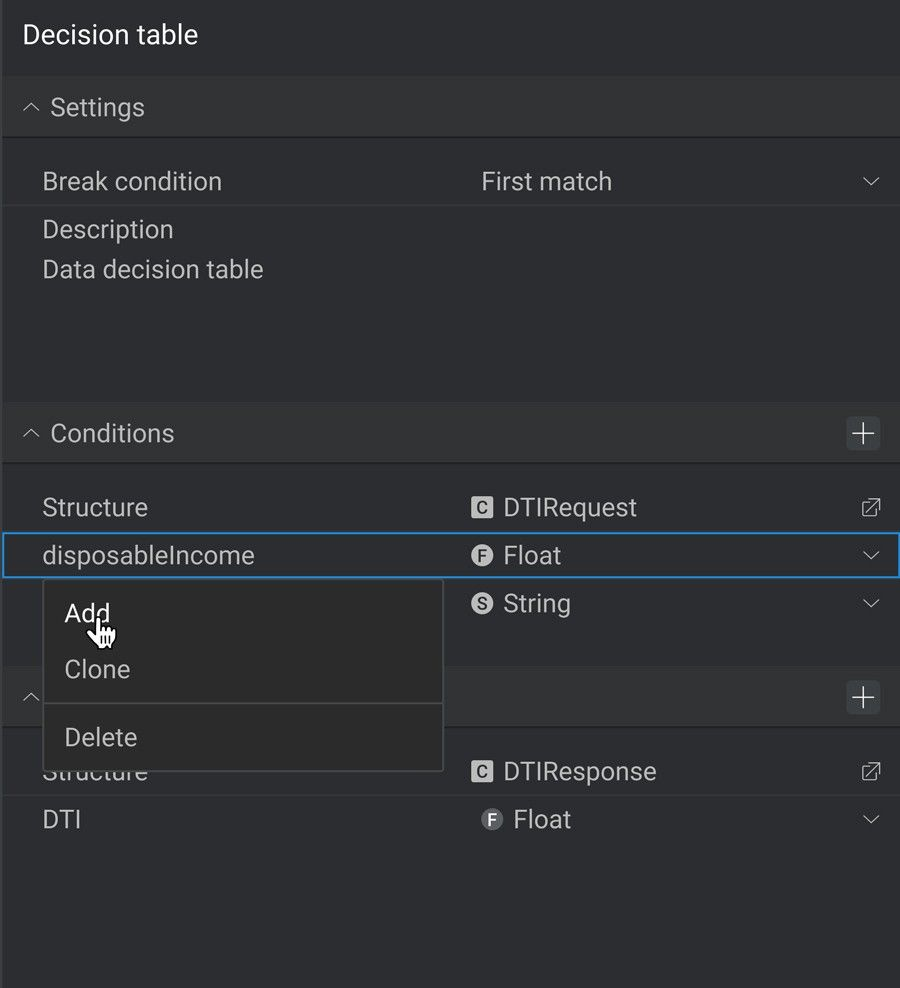
Let’s see what operations are possible:
- Add — allows you to add a new parameter.
- Clone — allows you to create a clone of the parameter. The cloned flow will have the same name as the Name of the parent parameter + Clone(n).
- Delete — allows you to delete the parameter.
 Visual Development
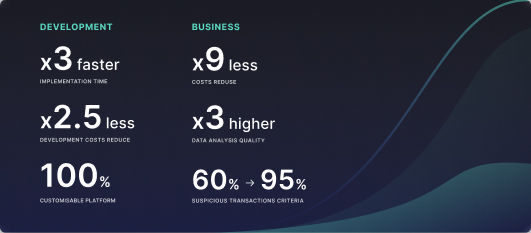 Assignment of risk level and customer category within KYC processes at customer onboarding
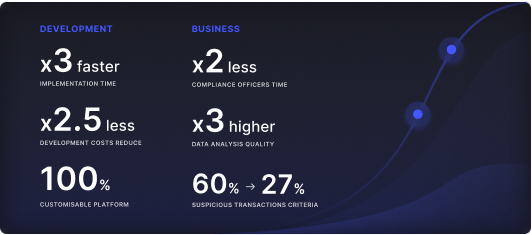 Cross-Sell Offer Calculation for the 12M Client Base
 icon in the panel above the table.
 icon in the panel above the table.
 icon in the panel above the table.
 icon in the panel above the table.
 icon in the panel above the table. Is not available unless you have previously used the Cut options.
 icon in the panel above the table. Then create a new parameter and select its type.
 icon in the panel above the table. Then create a new parameter and select its type.
 icon in the panel above the table.