- Platform
-
-
- Menu Item
 Visual Development
Use our intuitive, visual drag-and-drop interface to build powerful business apps for automation, decision-making and customer service.
- Data Modeling
Model data structures of any complexity. Organize them into fields of various types, nested structures, arrays, and maps. Serialize as JSON, XML or other/custom markup.
- Integration
Utilize built-in connector library to quickly connect ProcessMIX applications to databases, REST/SOAP web services, Amazon S3, Kafka messaging or blockchain.
- Decision Tables
Author complex business logic and manage large number of rules easily in a tabular format.
- Scorecards
Apply predictive analytics and lower risk by incorporating scoring models into your decision strategies with the help of our scorecard model editor.
- PMML
Import and execute Predictive Modeling Markup Language (PMML) models to add the power of data mining and AI to your solutions.
- Version Control
Manage complex development projects more effectively with ProcessMIX version control system, complete with code change monitoring, version history, branching and dev team collaboration.
- Debugging and Testing
Build more robust solutions and troubleshoot easily with our testing and debugging tools, including step-by-step execution, performance monitoring, unit tests and automatic log collection.
- Deployment and Execution
Use ProcessMIX to deploy REST/SOAP API or scheduled jobs to the cloud with a single click. Leverage built-in Docker packaging, Kubernetes service generation and AWS cloud support. Alternatively, export projects as JAR/WAR packages or Java source code for on-premise deployment or to fit your own software deployment strategy.
- Menu Item
-
-
- Solutions
 Visual Development
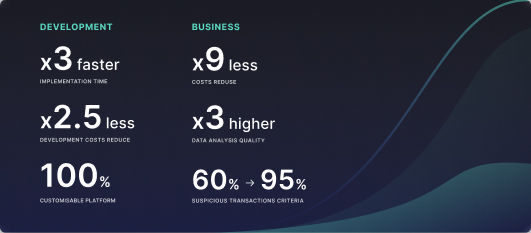 Assignment of risk level and customer category within KYC processes during customer onboarding
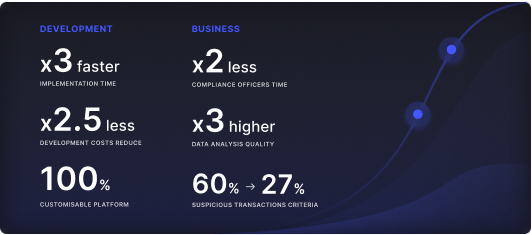 Cross-sell offer calculation for a 12MM strong client portfolio
Local History
Local History helps you constantly track all changes made to a project independently of the version control. Unlike version control systems, which only keep track of the differences made between commits, Local History offers much more. It automatically records your project’s state as you edit data and maintains revisions for all meaningful changes.
Acting as your personal version control system, Local History lets you restore deleted data, bring back separate changes, or roll back to any state of a data if an unwanted change was made after your last commit.
How to work with the Local History panel?
The panel is presented at the bottom right of the screen. To open the Local History panel, the user needs to click on the Local History tab.
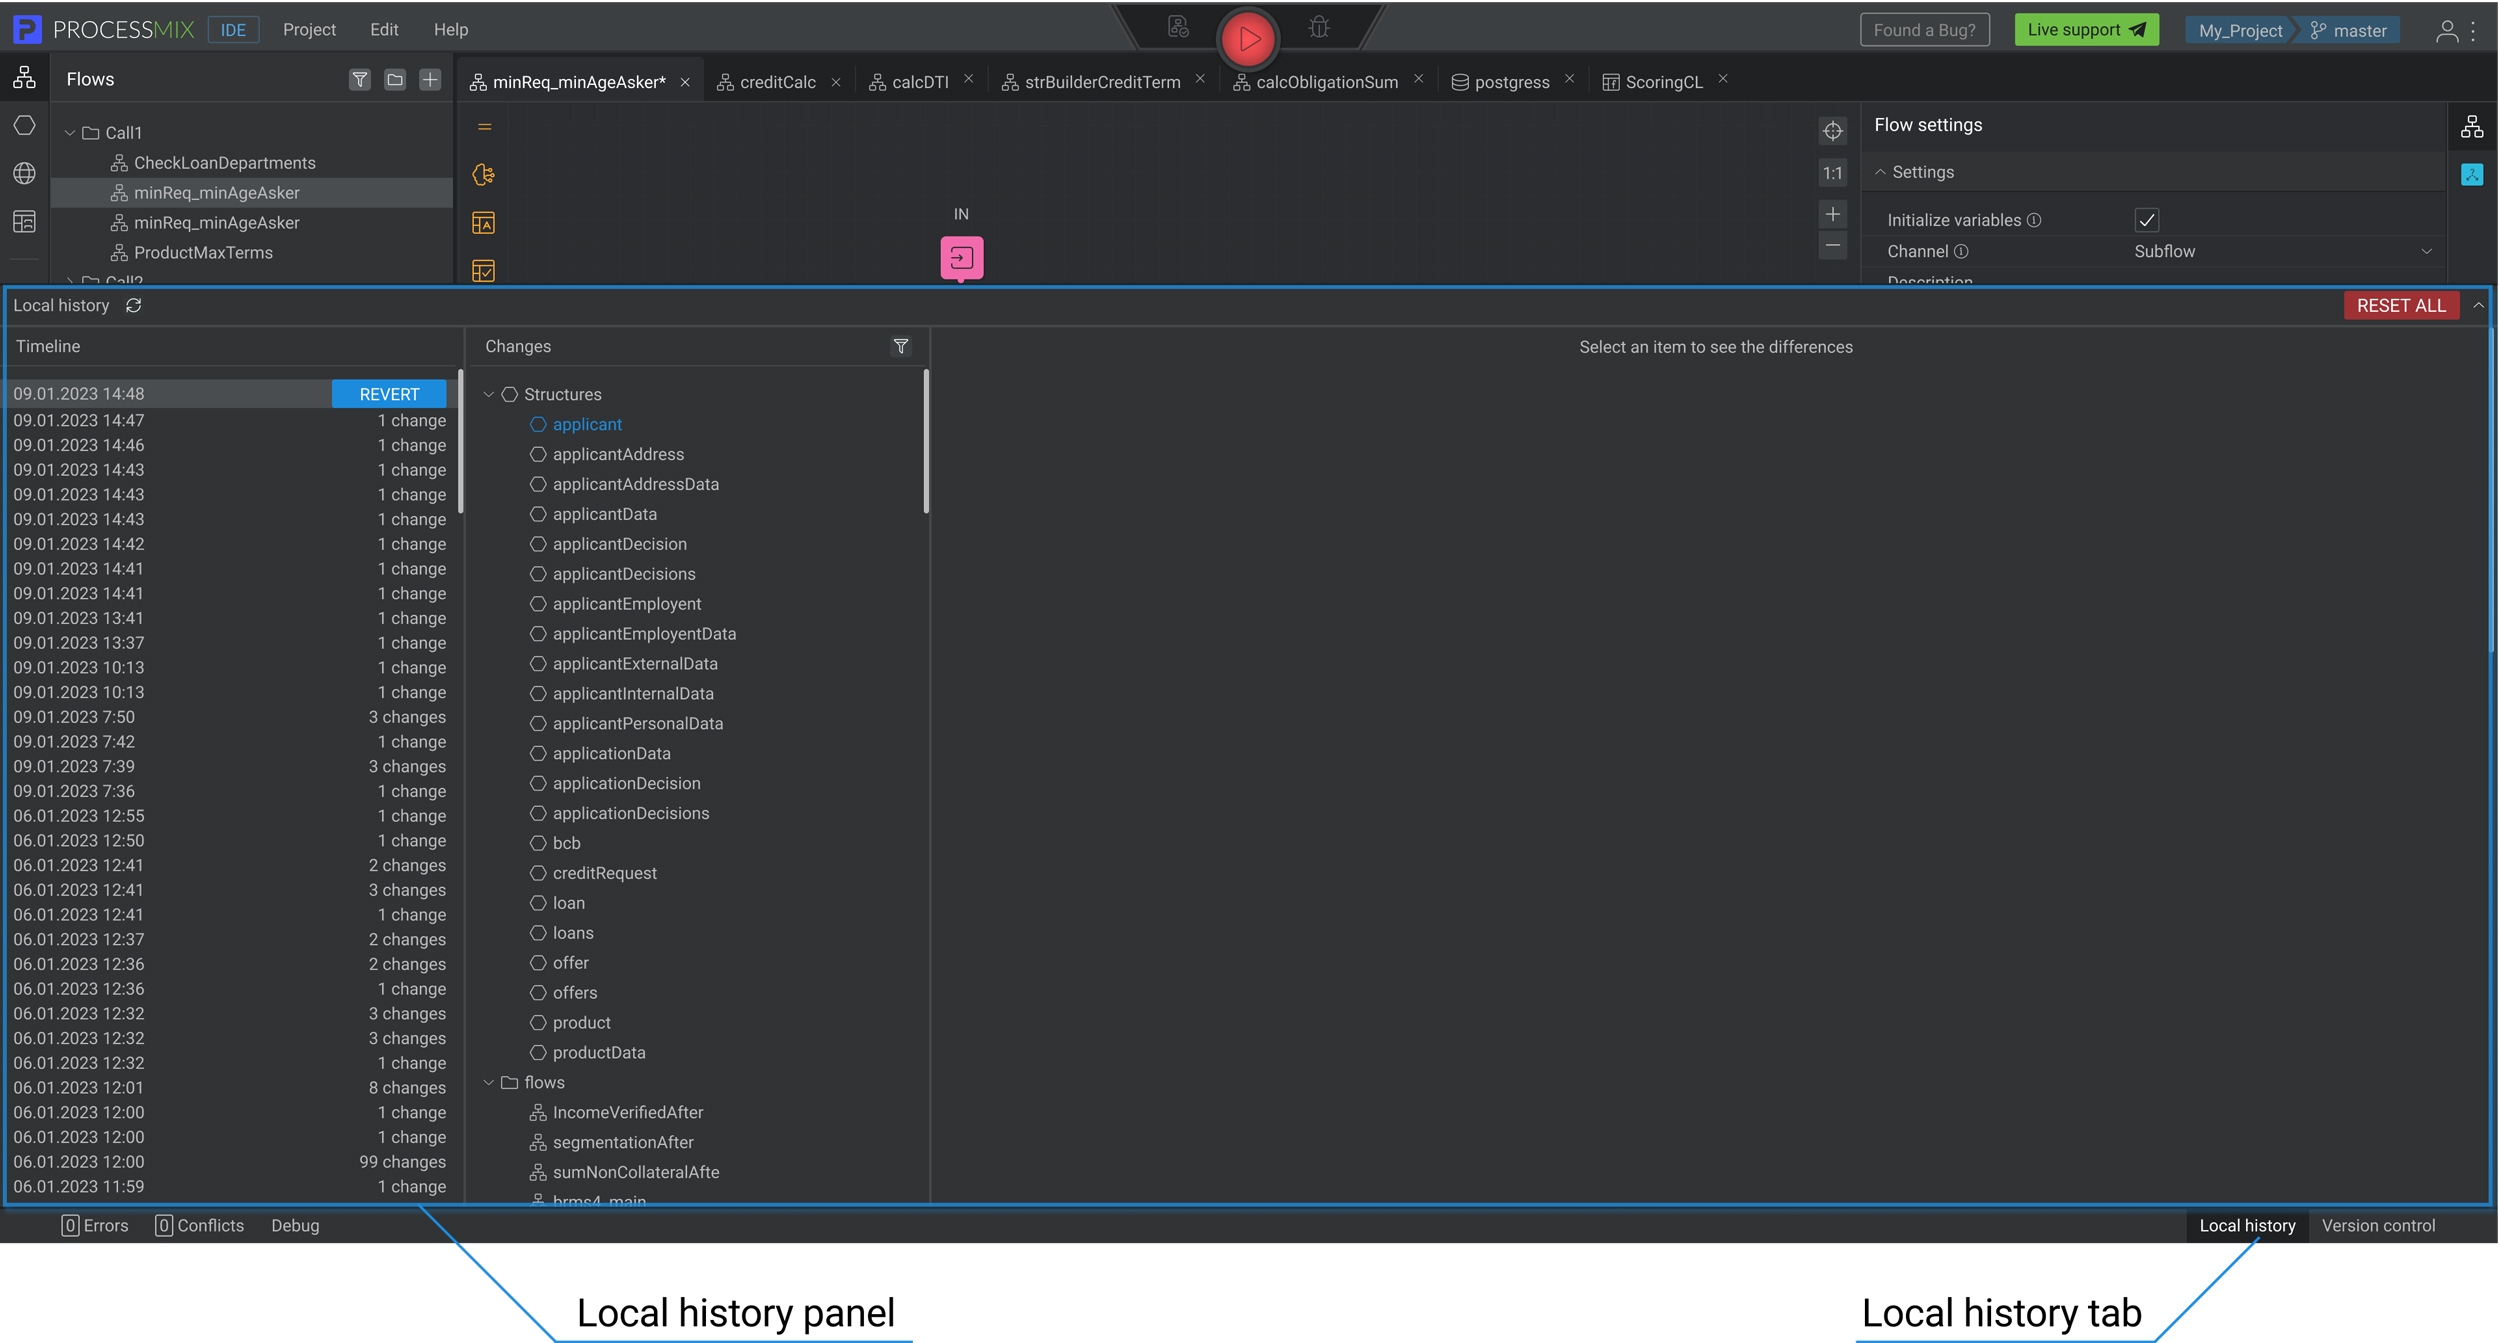
The user can collapse the panel by clicking on the Local History tab or the ‘collapse’ icon located at the top right of the panel. Also, the user can update the panel data, for this the user needs to click on the update ![]() icon located in the top panel on the left.
icon located in the top panel on the left.
Conventionally, the Local History panel is divided into three sections. On the left is a section with a history of changes. It shows the date and time of changes, as well as the number of changes.Conventionally, the Local history panel is divided into three sections. On the left is a section with a history of changes, which shows the date and time of changes, as well as the number of changes.
By clicking on an element from the history of changes, the user can see items, changes were made to, project tree of the changed items and the exact changes as a comparison of an old and a new versions. In the section with the history of changes, by clicking on a specific element, the REVERT button is available to the user, which will help return the project to its state before this stage.
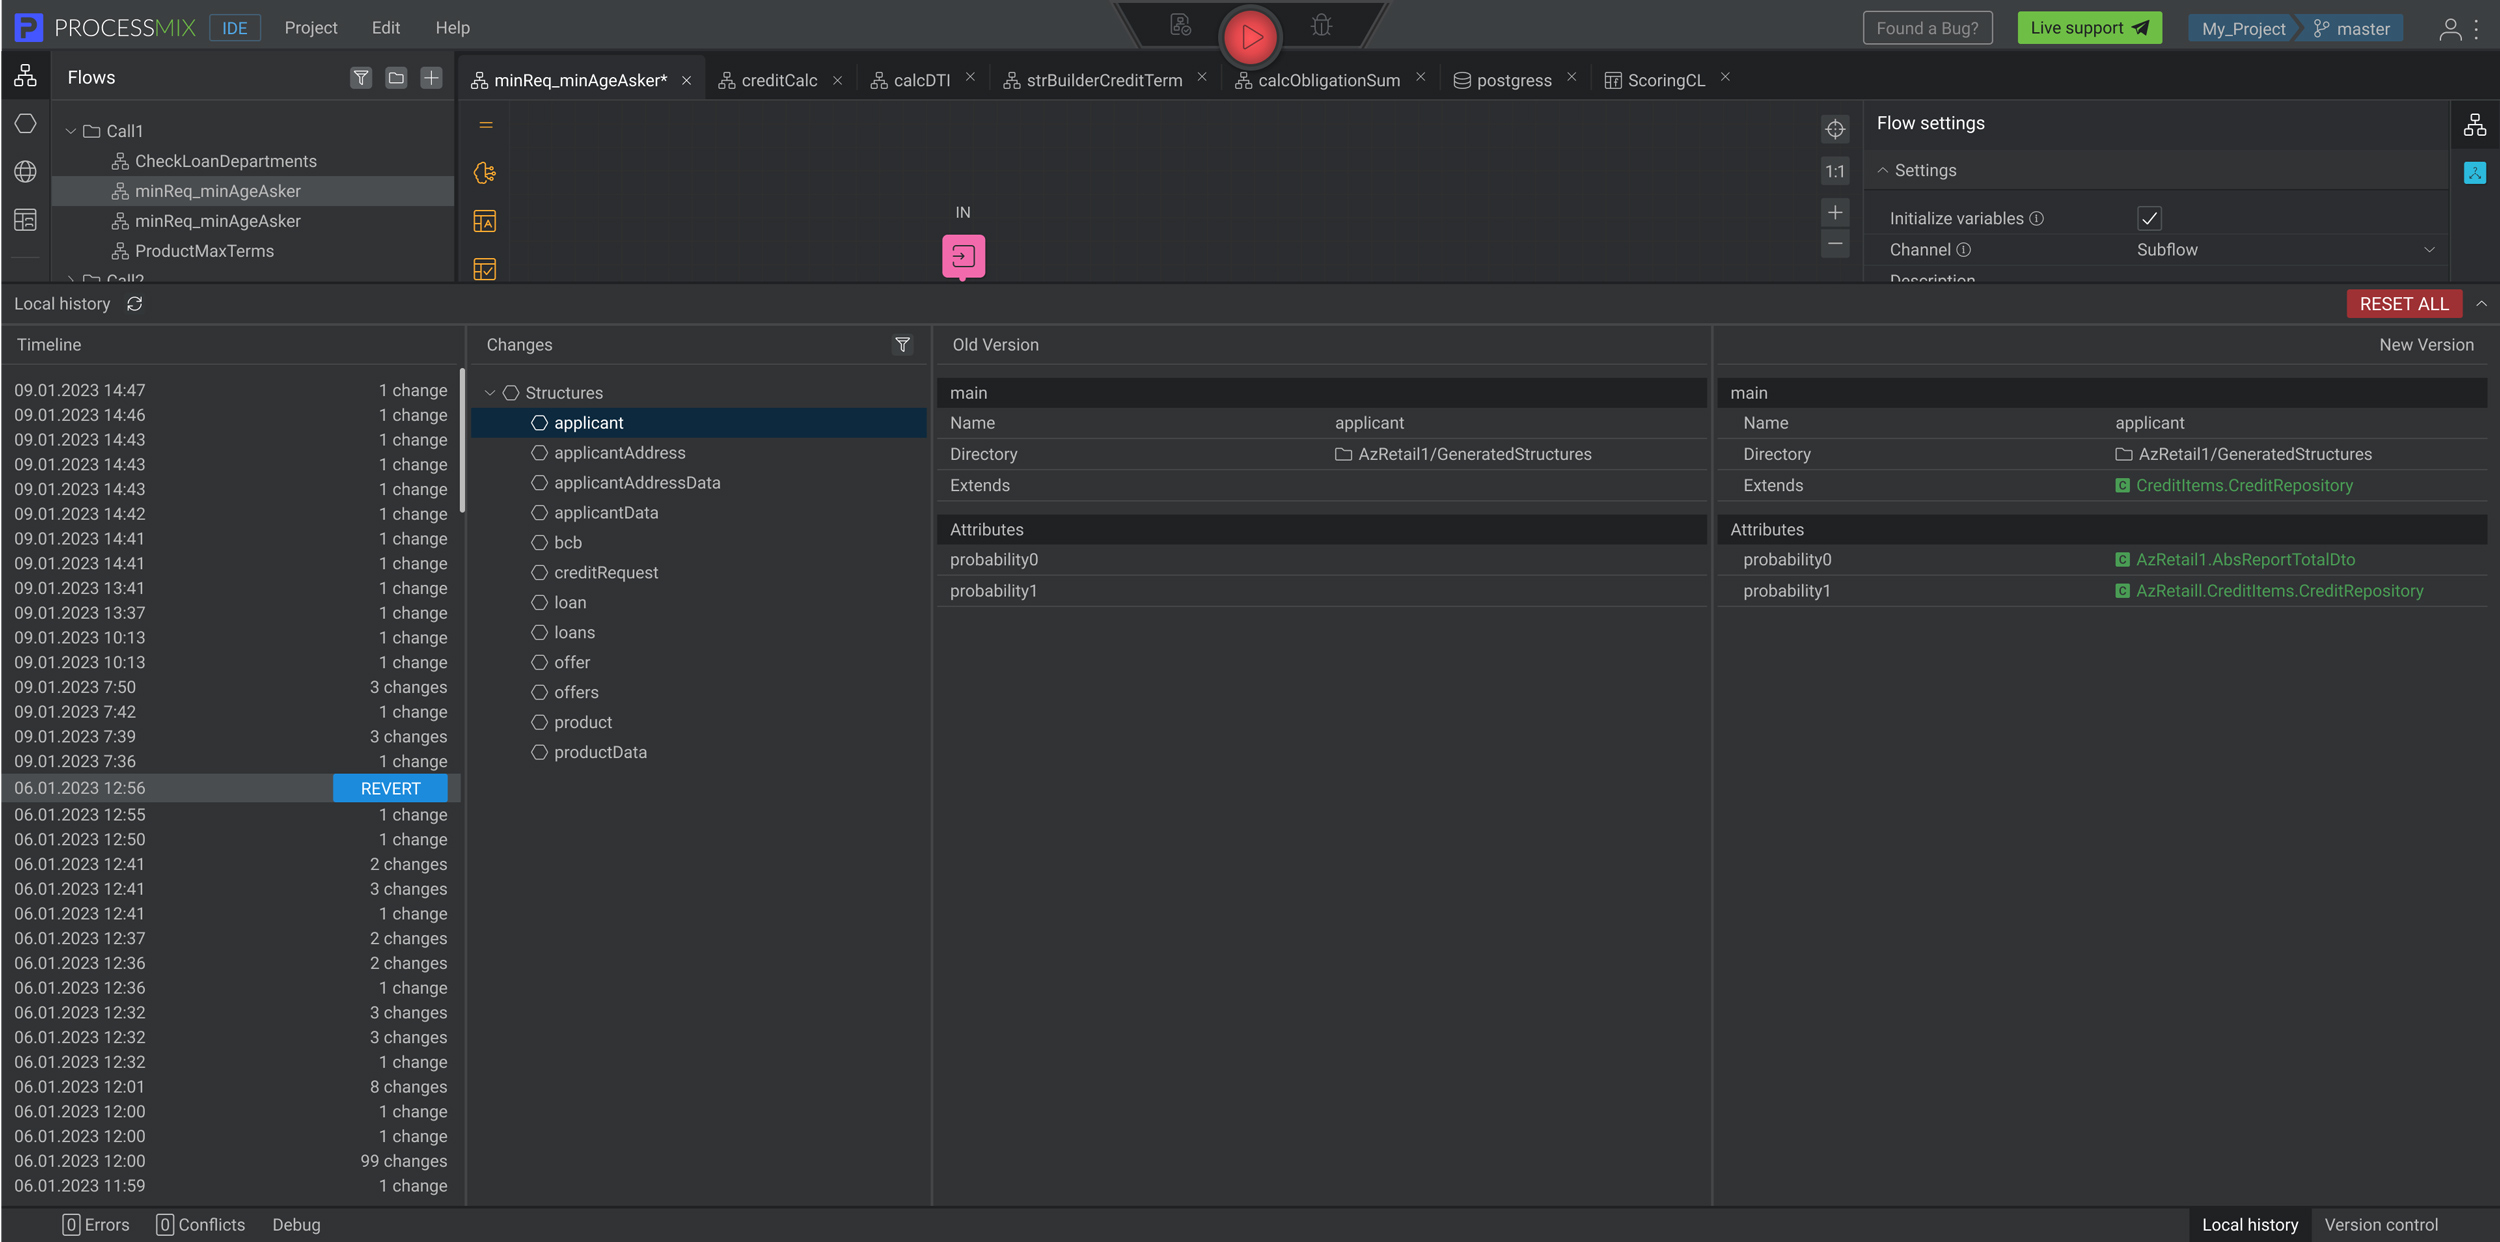
To see old and new changes, the user needs to select an element from the history of changes, go to the sections with changes for this period and select the entity that he needs. By clicking on a certain entity, a panel will open on the right side of the panel with new and old changes.
To filter Changes to to find the necessary entity. Click on the ![]() icon. You will see a field in which you can enter the name of the element that you need to find and enter the requested value. After that, the results of the match will be presented in the general list.
icon. You will see a field in which you can enter the name of the element that you need to find and enter the requested value. After that, the results of the match will be presented in the general list.
All added items are highlighted in green. If the user deletes items, they are highlighted in red and changed items highlighted in blue.
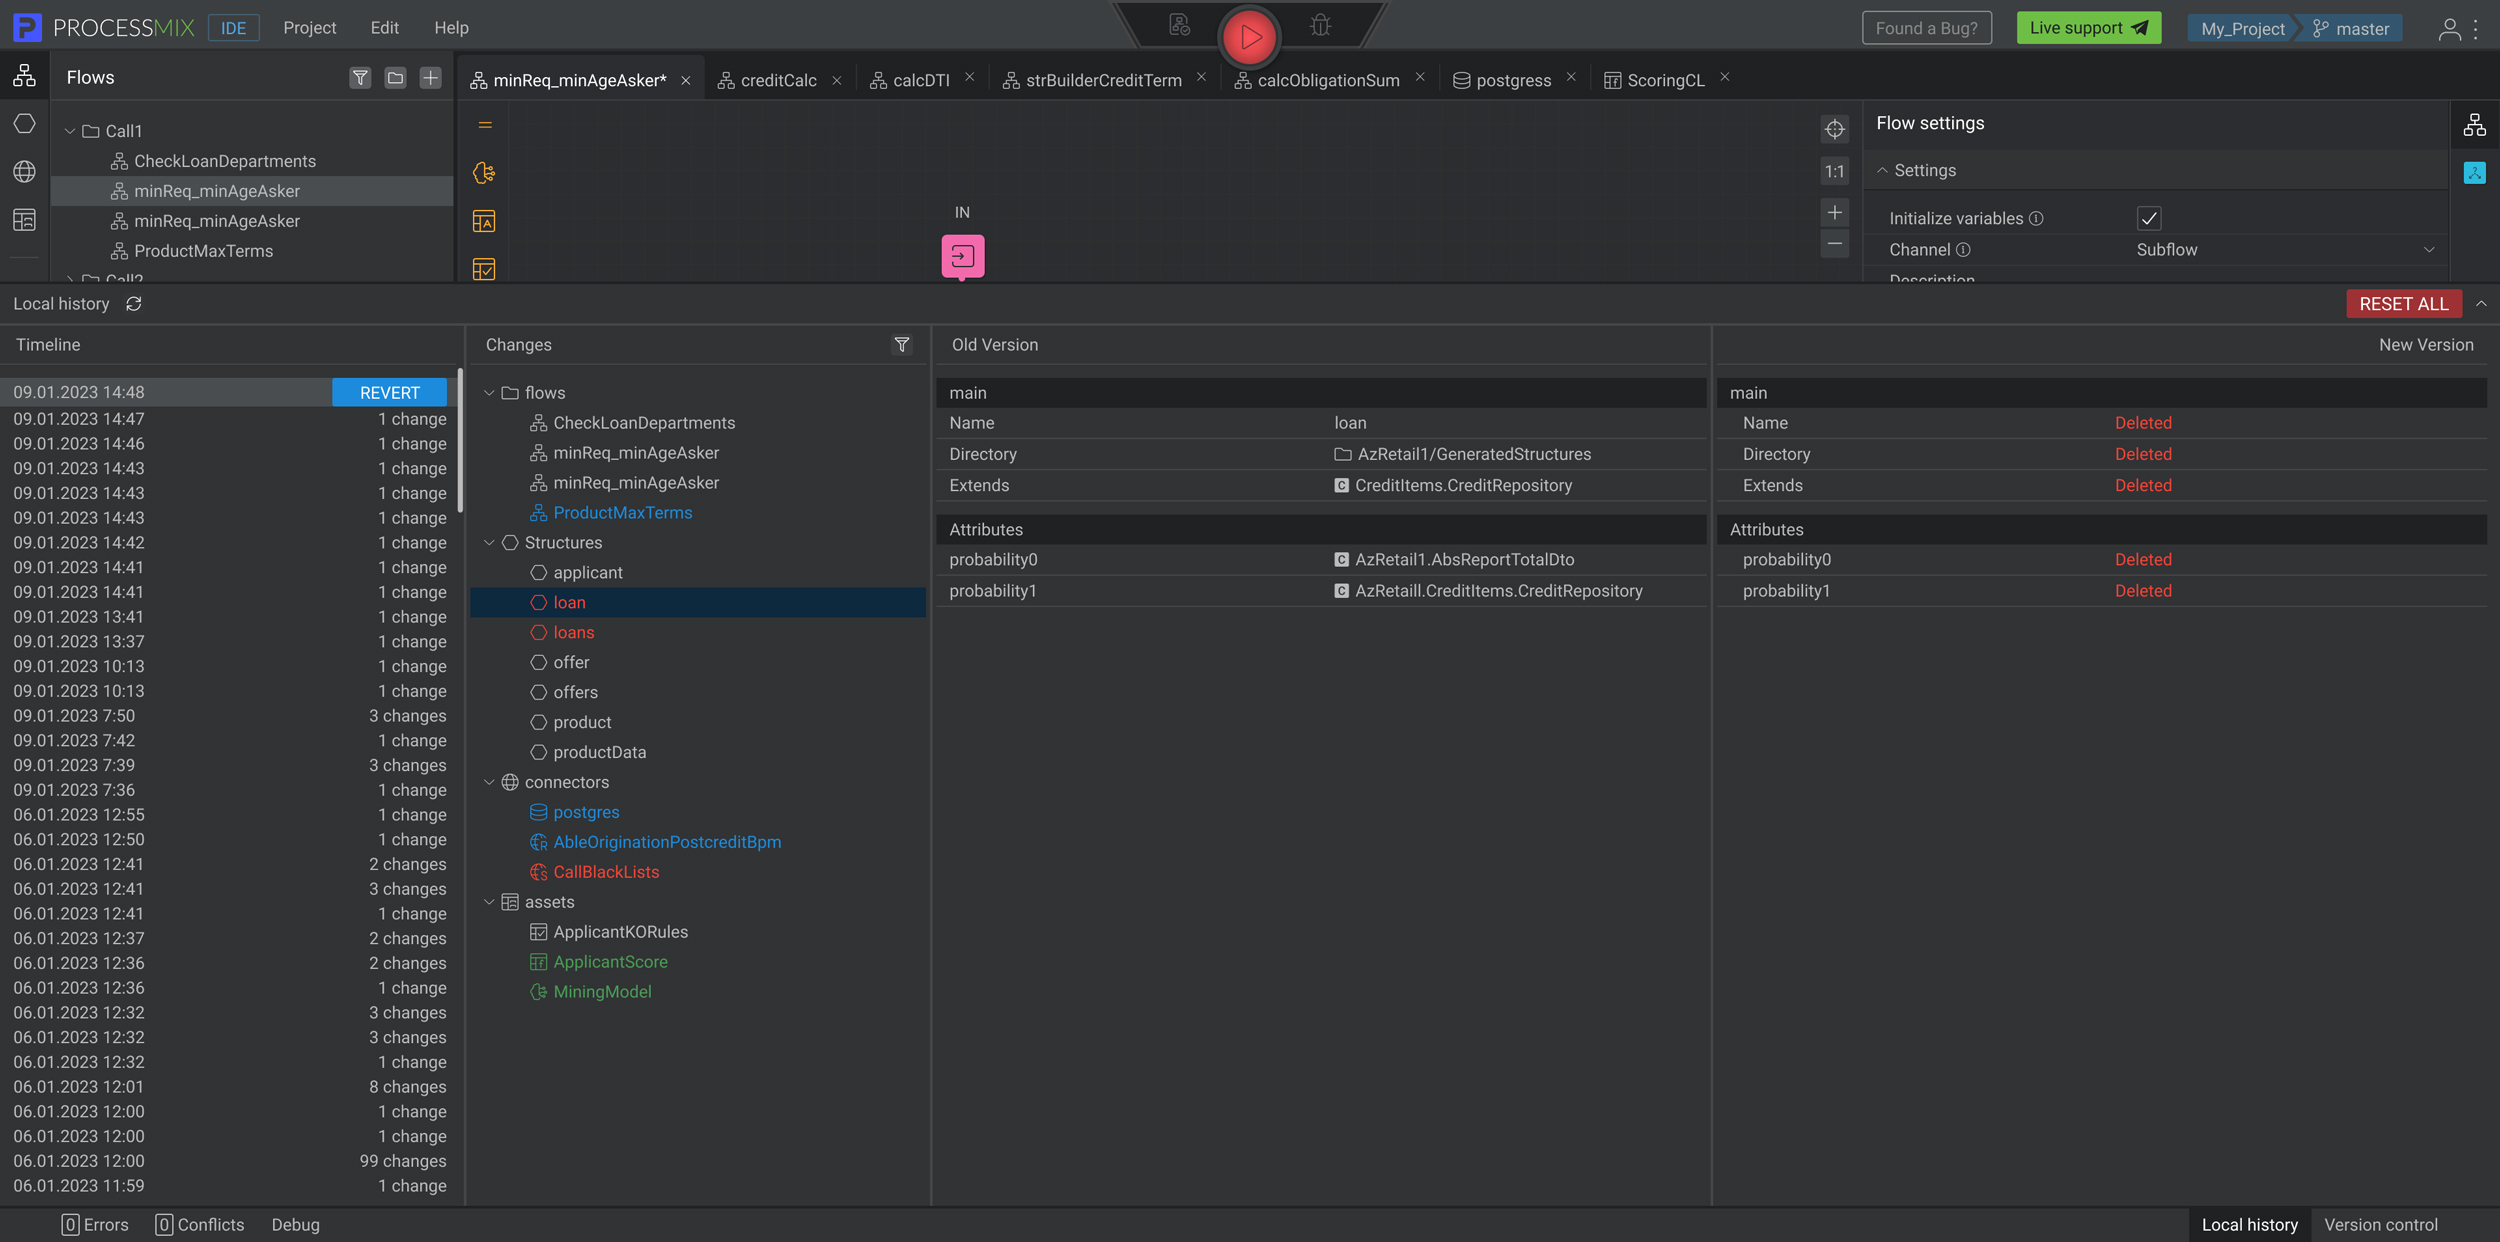
To reset all changes that have been made in the project after the last commit, the user needs to click on the red RESET ALL button, which is located in the upper Local history panel on the right.